

Three contacts to learn first
| Contact | What to aim at | What success looks like |
|---|---|---|
| Receive | A safe spot near a teammate | They can move to the ball before it drops |
| Set | A spot your hitter can reach near the net | The hitter has time to jump under control |
| Attack | Open floor across the net | The ball clears the net and lands inside the line |
In the documented playtest, teams had three contacts and blocks did not spend a touch. The playtest also documented a 1v1 exception to consecutive contacts. Use the live tutorial and match prompts for rule details in your current mode.
Run a short practice drill
- Start with the tutorial or an offline match against bots. Look at the ball's floor marker and move early, then ease off movement as you get within reach.
- Before receiving, choose one spot near a teammate. Use your grounded touch and repeat until you can guide two balls in a row toward that area.
- With a partner, have them call the second contact. Set to their approach, then watch whether they arrive early, late, or past the ball.
- With no human partner, use the bot match to practise positioning after the touch. As soon as you send the ball back, cover a gap instead of chasing the same ball as the bot.
- Use the serve drill if the rally is ending at the toss.
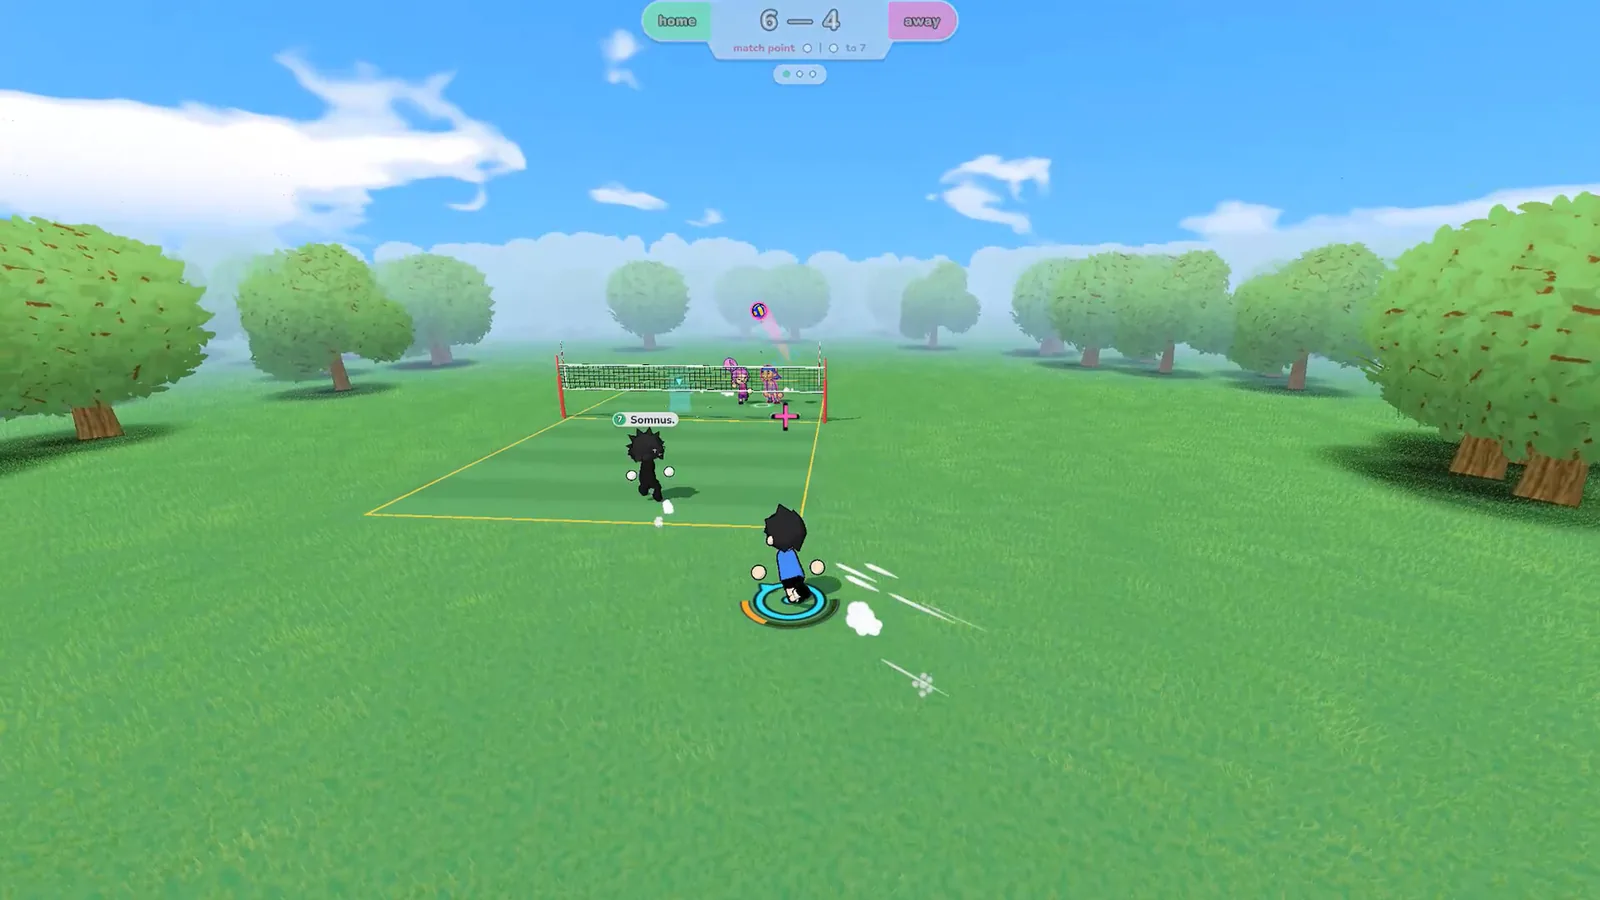
The grass-court screenshot shows a floor marker near the foreground player. A marker helps you read the play, while the cursor is where you intend to send your touch. Use the control reference to check your active bindings before changing your technique.
Sources & verification
- Steam release and offline bot support 2026-11-19
- October demo hands-on controls and rules 2026-11-19
- Release discussion and tutorial feedback 2026-11-19